Most of the posts on the Strimzi blog are written by Strimzi maintainers or regular contributors. But there is no rule preventing anyone else from writing and contributing blog posts. In fact, we are more than happy to publish your blog posts here. If you are interested in contributing a blog post, you can read more about how to do it … in this blog post!
What topics to write about
So, what can you write about? Of course, most readers of the Strimzi blog are interested in Strimzi and Apache Kafka. So that should be one of the main considerations of your blog post. But there are plenty of things that might cover. For example:
- Your experience running Strimzi
- How you configured it in your environment
- What your architecture looks like
- How you made Strimzi and Apache Kafka work well for your use case
- Strimzi and IoT or Edge computing
- Tuning Strimzi configuration for different use cases
- Running Strimzi on different infrastructure
- Integration with public or private clouds
- Using bare-metal infrastructure
- Using Strimzi on top of different Kubernetes distributions
- Integration with other projects and tools
- Using Strimzi with OAuth authorization servers
- How to connect to Strimzi from other applications
- How to configure different connectors
- Which UIs to use with Strimzi based Apache Kafka clusters
- Use of Open Policy Agent policies for authorization in Strimzi
- Deep dives into Strimzi or Apache Kafka features
- Other Strimzi sub-projects such as Kafka Bridge or our configuration providers
- Tutorials and how-to guides about contributing (such as this blog post 😉)
I’m sure you will be able to come up with many other topics which will be interesting for Strimzi users. You can also browse through the older blog posts to find some inspiration and examples.
While we love open-source software at Strimzi, we also understand that not everything is open source. If you want to mention a commercial version of your project or service, it is not necessarily a blocker. Just keep in mind that the blog post should be also about Strimzi and Apache Kafka and not just a pure self-promotion.
If you are not sure about the topic, you can always get in touch with us first. You can use the Slack channel, mailing list or DM us on Twitter to discuss the ideas.
How to contribute a blog post
The source codes for the Strimzi website - including all blog posts - are on our GitHub in the strimzi.github.io repository.
The actual blog posts can be found in the _posts subdirectory.
Any images used in the blog posts are in assets/images/posts.
You contribute a blog post by opening a pull request (PR) in the strimzi.github.io repository.
If you never used GitHub before or never opened a PR, you can find lots of guides on the internet.
You can, for example, follow this simple guide or read through the full GitHub documentation.

The blog posts are written in Markdown. Markdown is a very simple language for creating formatted text without a special editor. You can write the blog post in any text editor, such as Vim, Emacs, Visual Studio Code, and Eclipse. To write the blog post in Markdown, you will only need to learn some basic syntax about headers, bold or italic fonts and code formatting. You can find the style conventions in the GitHub guide . The formatting in the files of previous blog posts will give you a good idea of how it is used.
To start a new blog post, just create a new file in the _posts subdirectory and name it <date>-<title>.md.
For the date, you can use the current date.
After your blog post is reviewed and approved, we will change it to the actual publishing date when merging the PR.
For the title, you can use the title of your blog post in lowercase and with spaces replaced with -.
For example 2021-07-29-my-first-blog-post.md.
Inside the file, there should be a mandatory header with the blog post metadata such as author or title. The following example shows how the header might look like:
---
layout: post
title:  "My first blog post"
date: 2021-07-29
author: arnost_novak
---
You should keep the layout field always set to post.
And use your own values for the date, author and title fields.
The value of the author field should link to the authors list.
If it is your first blog post for the Strimzi website, you need to add your name to the list of authors first.
You can do this in the same PR as the blog post.
The list is in the _data/authors.yml file.
You can add your name together with your social media handles.
For example:
arnost_novak:
  name: Arnošt Novák
  twitter: https://twitter.com/my-twitter-handle
After the header, you can place the text of your blog post.
If you want to use any images, you can add them to the assets/images/posts directory.
Standard image file formats are supported, like .png, .gif, and .jpeg.
Format and reference images in your text like this .png file.

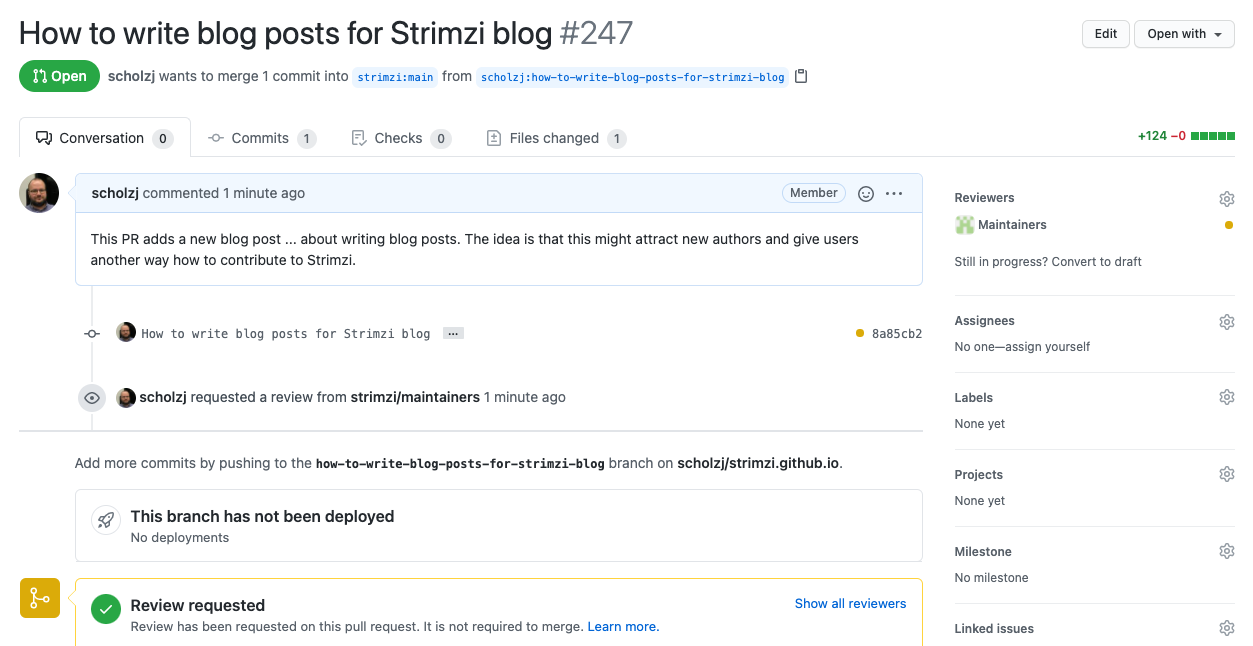
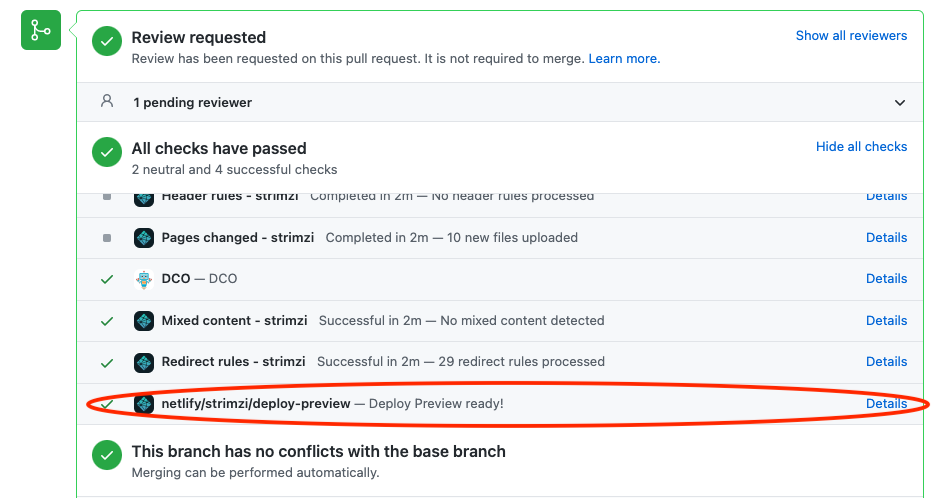
Once you have the blog post ready, you can open the PR. We try to pick up new PRs for feedback and review within 24 hours. Once you open the PR, it will also automatically generate a preview of the website with your blog post. So you can see how will it look when published. And you can check all the formatting, image placement, and so on.

Once the reviews are finished and the blog post is approved, we will merge it and it will be automatically published on the website. As an example, you can check the PR for this blog post. We will of course also promote it on our Slack channel and social media.
Conclusion
Writing new blog posts for the Strimzi website is really easy. So hopefully you already have some idea what to write about and you will open a PR soon. But even if you want to write about Strimzi but publish the blog post on your own website, please let us know about it and we can share it with our users.
If we didn’t convince you to write a blog post, you can still read the blog posts written by others. You can follow us on Twitter or add our RSS feed to your readers to make sure you don’t miss any new posts. And if you like them, don’t forget to share them!
